BOXLIGHT ProjectoWrite5 Bedienungsanleitung Seite 78
- Seite / 99
- Inhaltsverzeichnis
- LESEZEICHEN
- User Manual 1
- About the Owner’s Manual 2
- Features 2
- Projector 2
- Contents 3
- SCaofneteynItnssotrf 5
- WARNING / CAUTION 6
- Side and Top Rear 7
- Safety Labels 8
- Control Panel 10
- Image size(inch) 12
- Power ON / OFF 14
- 1. Front projection 15
- Setting Up 16
- Security Anchor 16
- How To Connect 18
- Remote Control 21
- EZ Suite (EZ Media Function) 24
- 1.1 Photo Function 24
- Photo navigator toolbar : 25
- Audio navigator toolbar: 28
- Spectrum 29
- Operation info: 30
- 2.1 EZ USB 32
- 2.2 EZ WiFi 33
- Running under WiFi AP Mode: 34
- EZ Suite(EZ Display 35
- Function) 35
- Suite(EZ 37
- Display 37
- FXQction) 37
- Mirror mode 41
- EZ Display main functions: 43
- EZ Suite(EZ Display 44
- Function 44
- 3.5 WiFi Setting 50
- AP mode (Ad Hoc): 51
- Client mode: 53
- EZ Display: 56
- 3.6 Connect PC Setting 58
- Picture Menu 60
- Audio Menu 61
- Setting Menu 62
- Advanced Menu 66
- Presentation Menu 70
- Security Menu 72
- Auto Filter Alert 75
- PIN Key In Operation 76
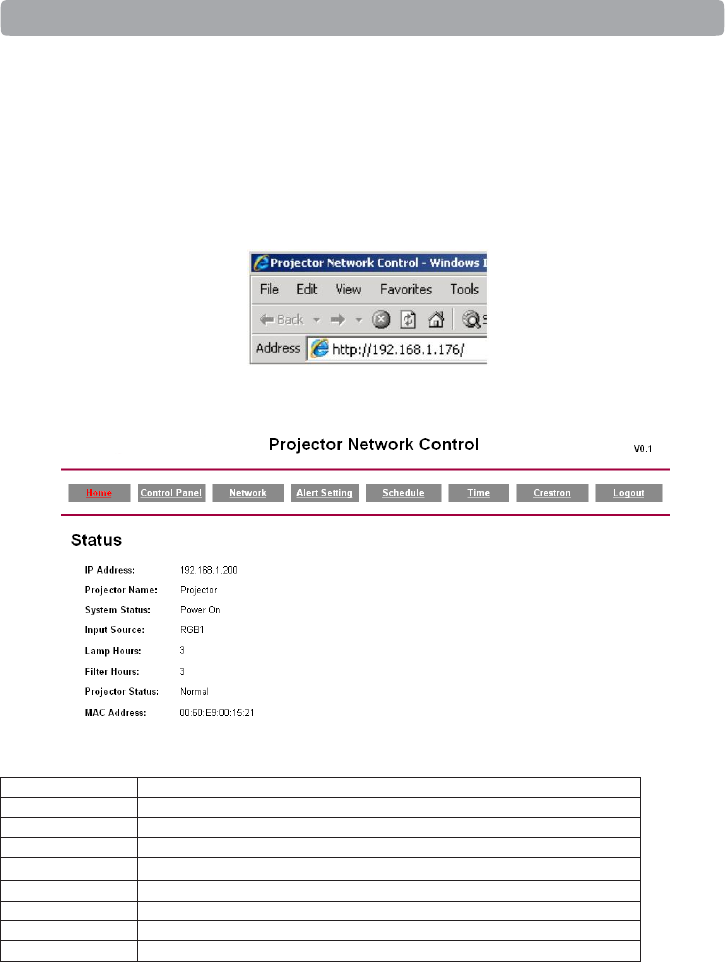
- Browser Control 78
- ADMINISTRATOR MODE 79
- Network : 82
- Schedule : 84
- About the Tools button: 86
- Computer mode 96
- Appendix 99
- Appearance 99
Verwandte Produkte und Handbücher für Projektoren BOXLIGHT ProjectoWrite5
 (58 Seiten)
(49 Seiten)
(44 Seiten)
(55 Seiten)
(56 Seiten)
(42 Seiten)
(32 Seiten)
(58 Seiten)
(49 Seiten)
(44 Seiten)
(55 Seiten)
(56 Seiten)
(42 Seiten)
(32 Seiten)
© 2020, manymanuals.de. Alle Rechte vorbehalten. | 0.039 s |
 Manymanuals.com
 Manymanuals.de
 Manymanuals.fr
 Manymanuals.it
 Manymanuals.pl
 Manymanuals.cz
 Manymanuals.es
 Manymanuals-pt.com
Kommentare zu diesen Handbüchern